Wednesday, January 27, 2010
Subscribe to:
Post Comments (Atom)
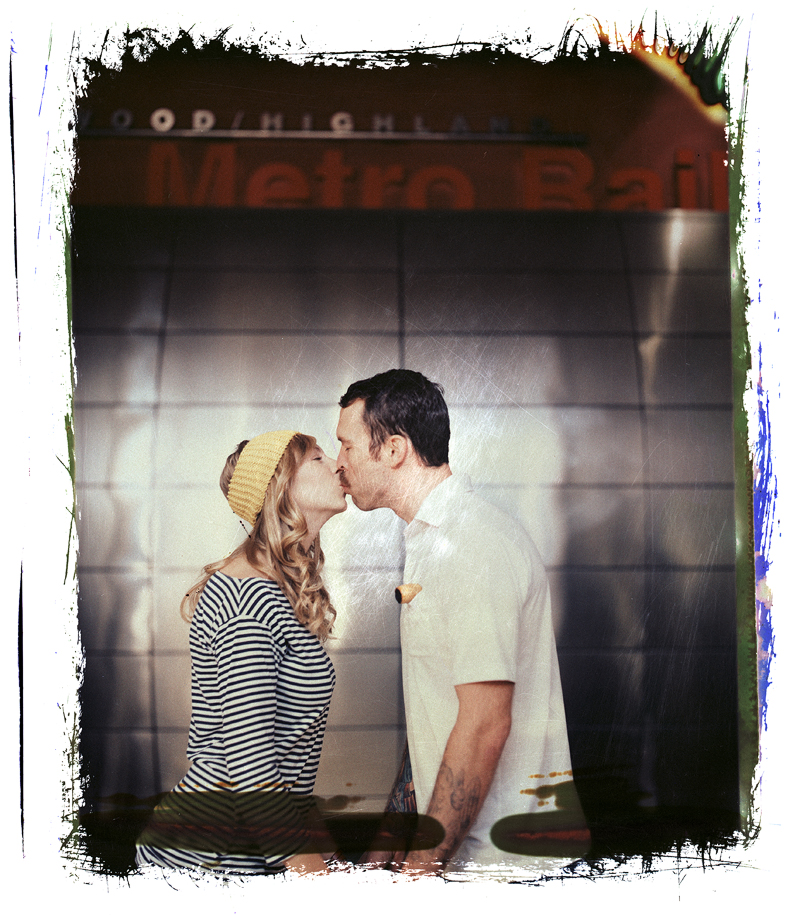 After shooting Tim and Chelle's awesome engagement session on Sunday just I couldn't wait to get them up on the Twin Lens Life to share with you all! Tim is our guy when it comes to shooting Super8. He is super creative and a really good friend. And because of his amazing taste in women as well as cinema he just so happened to pick one of the coolest, prettiest and all around bestest gals to marry him. Chelle is a "Southern Belle" with a good dose of southern california style. From Tim's mustache down to Chelle's snazzy cowgirl boots, I absolutely love their relaxed vintage style! But back to the point, I couldn't wait to get to get all the film back from Richard photo lab to share these, so we may just have to do two posts on this one. Post one... "Instant Love!"
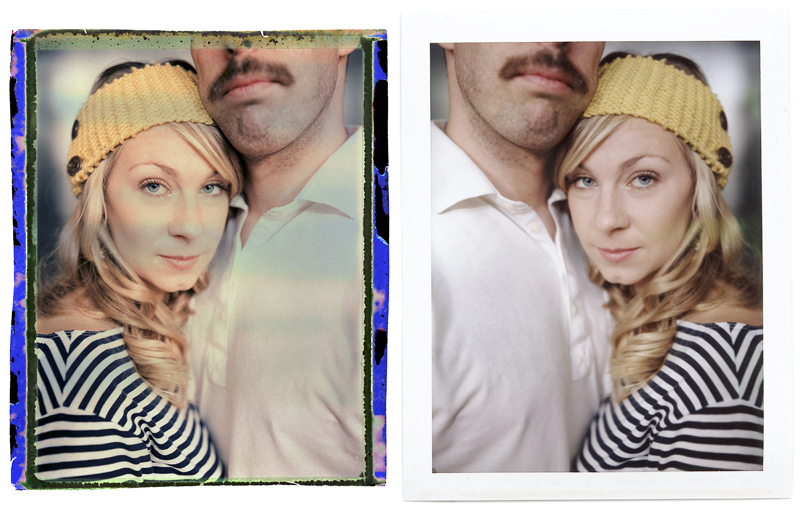 So we've really nailed this new process we've been doing with Fuji's Instant Pack Film. What we basically do is take the goop part of the film that you'd usually just peel off and quickly throw away, because it's slimy and stinks, but instead we save it to unearth the instant negative! A beautiful, rich, three-dimensional and incredibly sharp negative! [See our pervious posts: love at first sight, unveiling love, and goopy love] Just check out the neg on the above left. Better than the print! Our Main tools we use are old towels, clorox bleach and a toothbrush to rub off the black backing. It's craft time! :~) Using just those tools we can be as messy or as immaculate as we want, but you get a transparent negative! It takes some patience but I really love the process. What do you think?
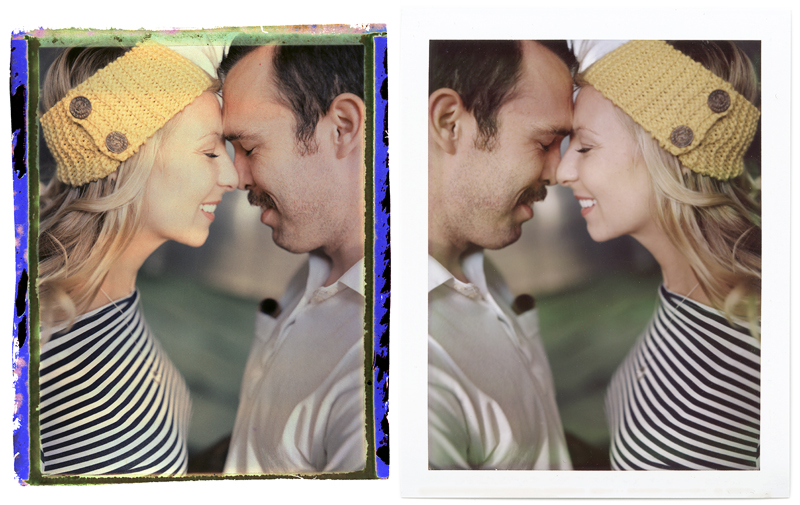
 The two below are from shots that we were not so careful with.
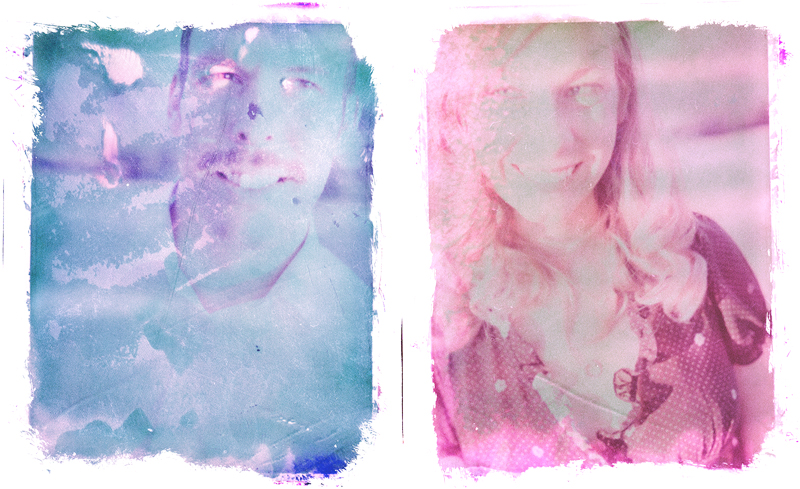 A few of the goop negs ended up dried stuck together, so a lot of the dies were lost in cleaning but they came out looking really soft and beautiful in the end (Above).
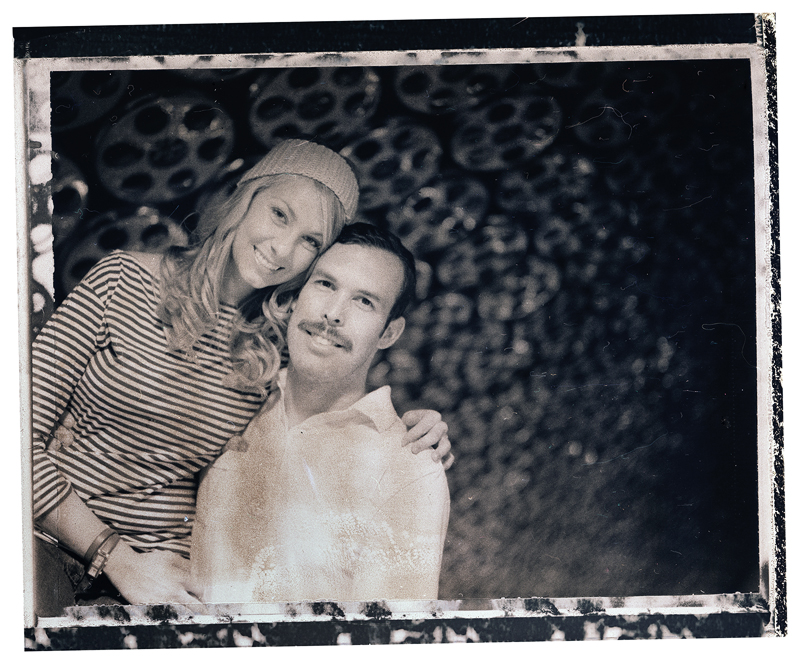
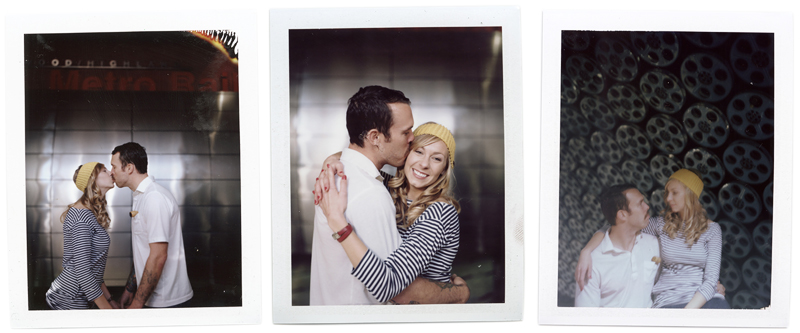
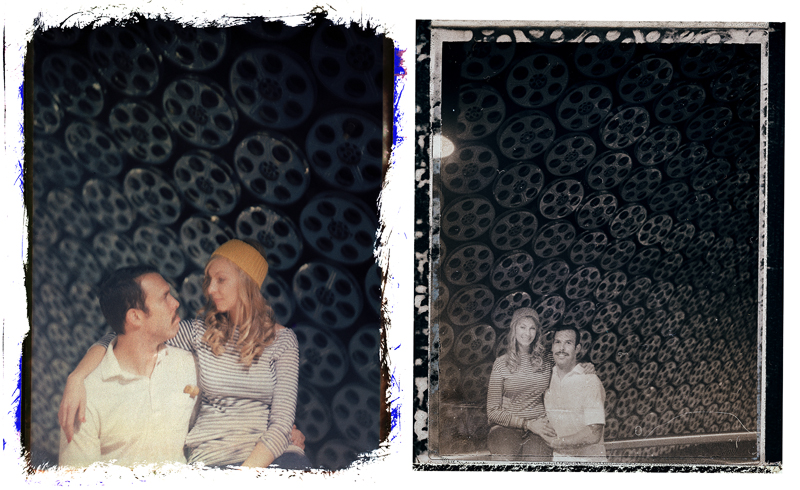 Tim loved the old movie reels covering the ceilings at the Hollywood and Vine station.
 Well that just scratches the surface of what all we have cooking from this shoot! Plus we have Tim and Chelle's Wedding in Arrowhead in April! So hope y'all like some good ol' home style analog photos with generous a helping of handsome... Cause that's what's cookin!
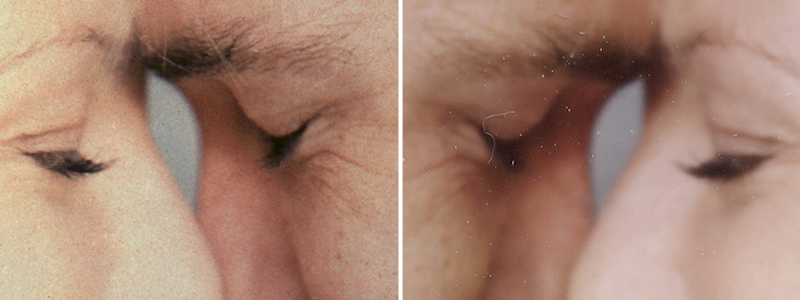 Incredible!


7 comments:
Wow, so much detail in the negs. I haven't yet tried it with FP100C... managed to get my hands on some type 85 film, so can't wait to play with that.
What camera are you using for your fuji instant shots?
I heard about this on Inside Analog Photo, but I haven't tried it. I'm inspired. These are beautiful.
We use a Polaroid 195 Land camera with a modified rangefinder from a Polaroid 250. I recommend the 250 or 350! Great auto exposure at all speeds. The lens on the 195 is 3 stops faster though and fully manual. Hope that helps!
beautiful
Great work, guys!! These are seriously gorgeous!
Than you Gia! That means a lot coming from you! :)
Our tips:
-Let the print develop double the recommended time before peeling to prevent solarization. Fuji's pack film is self-terminating so you could let it process for hours without any adverse results!
-First remove the black with extra strength bleach and then clean the negative. The excess chemistry actually protects the emulsion a little.
-Cover the emulsion/goop side with masking tape. Don't tape it down to anything!
-Set the negative face down on an old towel when removing the black back. The towel absorbs most of the bleach before it bleeds around to the emulsion side.
-Clean the black off with extra strength bleach, a toothbrush and a paper towel. Have your toothbrush in a cup of water and dip the toothbrush in the bleach, scrub the black, wipe with a paper towel, dip the toothbrush in water then bleach again and repeat until the neg is clear.
-last remove the masking tape and rinse in cool running water. After it's dried everything is ready to scan.
Post a Comment