Saturday, June 6, 2009
Subscribe to:
Post Comments (Atom)
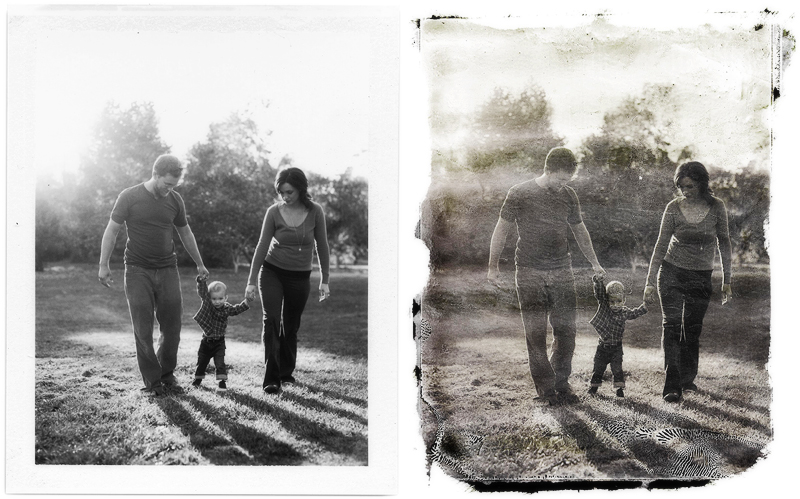 As promised in our previous article, unveiling the instant color negative in Fuji's FP-100C, here are some negatives that we recovered from the FP-100b! From the amazing Miller Family photo shoot last week (processing the film now)! These negatives have been hidden in the goop side of Fuji's pack film all along, and we have discovered a process by which we can unearth a dynamic transparent negative by removing the black backing on the back side of the peel apart film. All you need is a heavy duty cleaner, a little running water and some craftiness. With these negatives we tried just placing the film face down on a paper towel and using a sponge or cloth with Soft Scrub on it, to rub away the black backing. The Soft Scrub worked nicely because it was more of a paste that wouldn't run around to the emulsion side, ruining the negative. You can still tape down the edges of the film to a piece of glass to be safe, but it's not entirely necessary. The main difference between the FP-100c and FP-100b is that the color neg. is much more durable. Whereas with the color negative we recommend that you wash off all the goop from the negative under running water, you must be much more gentle with the B&W neg. We only gently rinsed the negative in water and fixed it for only 30 sec. or so, then dipped it in photo flo and hung to dry. Try not to touch the emulsion at all when it is wet! As you can see we left some damage on our negatives, due to experimenting with different tools for scrubbing off the backing. I found that a finer abrasive will remove the black with less dulling on the finish of the transparency. If you would like more of a brush stroke look, use a coarse scrubber. Now that we have the process pretty much down though, we are going to try to be much more meticulous with the handling and cleaning of the negatives. We are still working on a way to carry the fresh negative around without damaging it (wax paper really didn't work). Perhaps we will produce negatives with virtually no damage. No matter where we go from here, I'm already smitten!
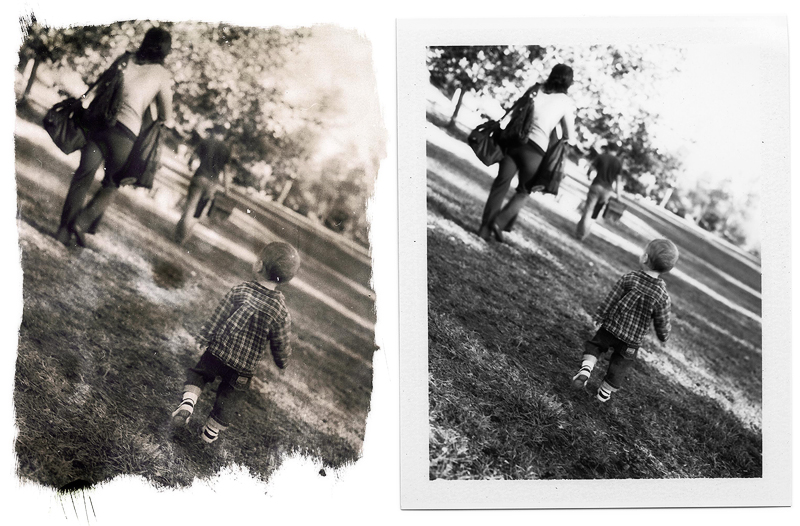 As you can see, the negatives have much greater highlight and shadow detail than the prints.
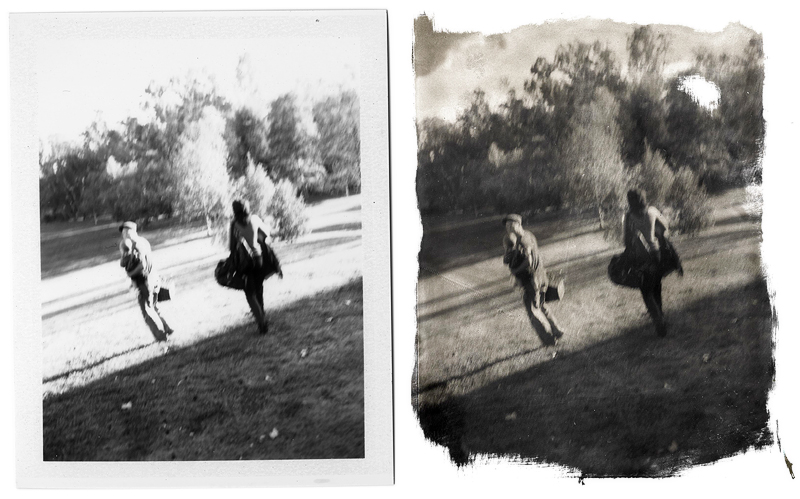 There are some chemical stains along with some lint and scratches on these, but I think it just adds character.
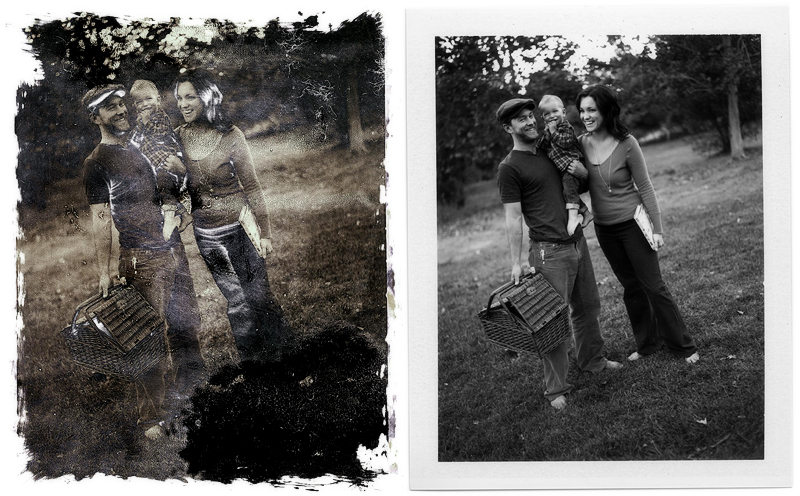 The above exposure was not left in the fixer long enough, so it has some solarization and fogging.
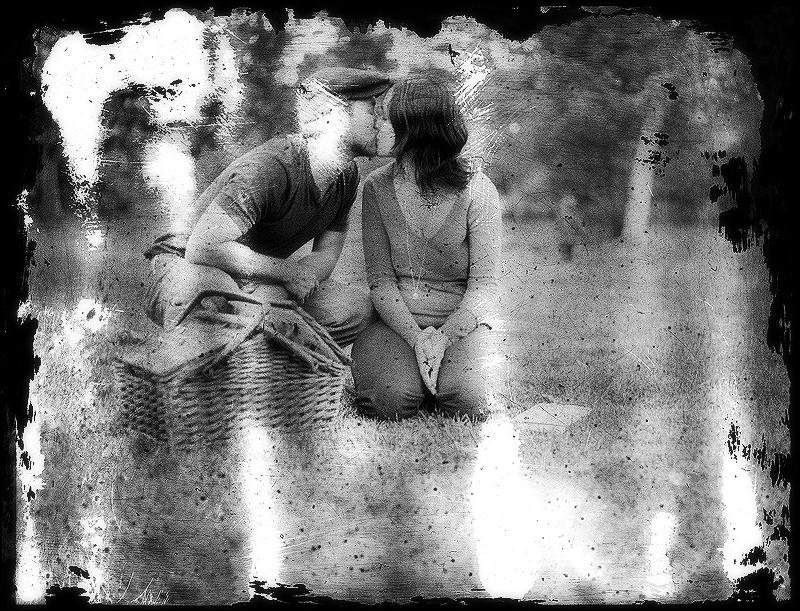 This one was scanned as a positive transparency, due to the fact that I rubbed all of the emulsion off of the negative and didn't put it in the fixer; as it turns out, leaving only the solarized exposure!:~)
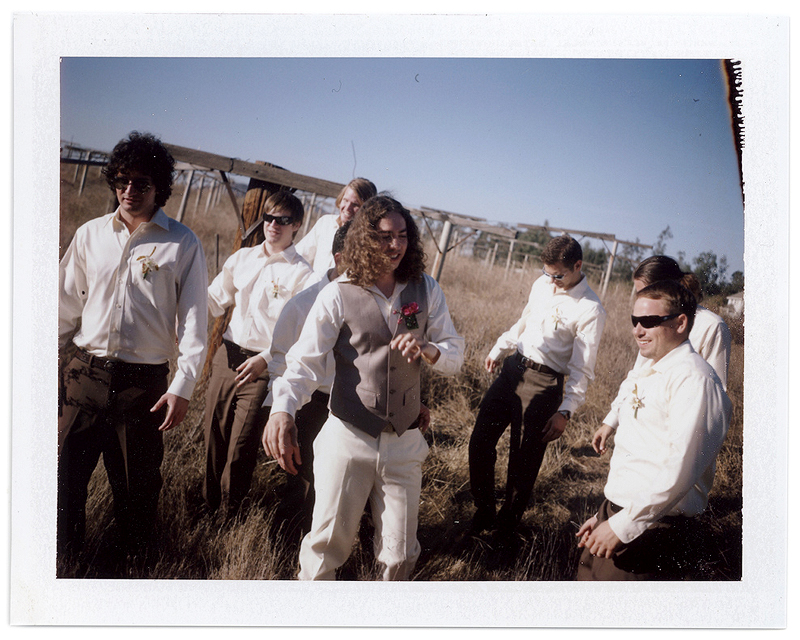
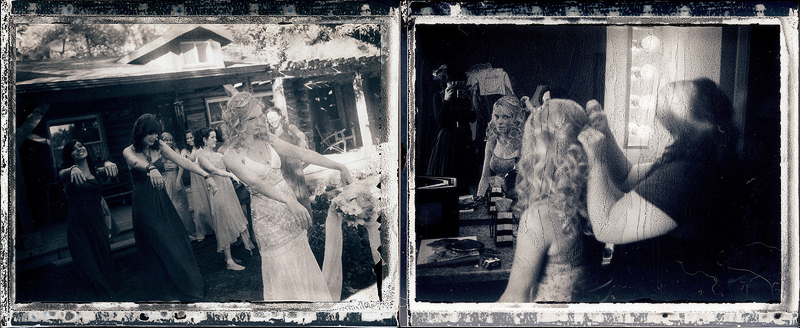 Here are a couple reflective negatives from the FP-3000b. These were taken at the "Walkman Wedding" on the 30th. by our assistant Serra.
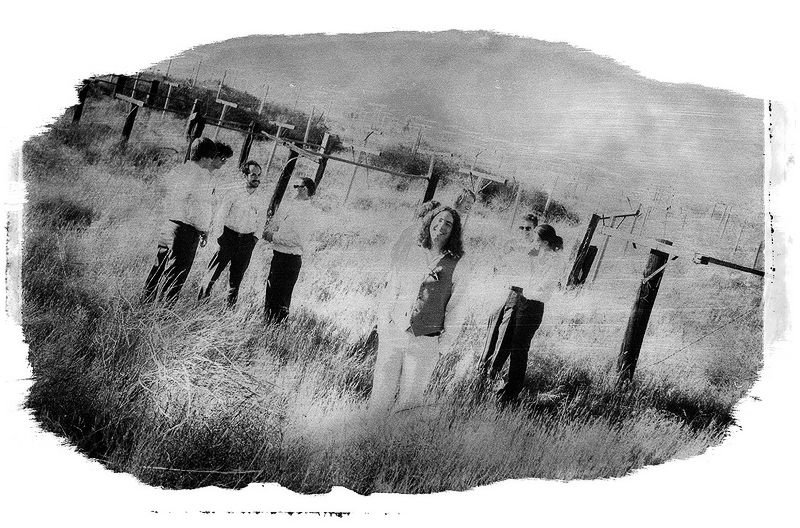 This is what a B&W scan of an overexposed FP-100c negative turns out like.
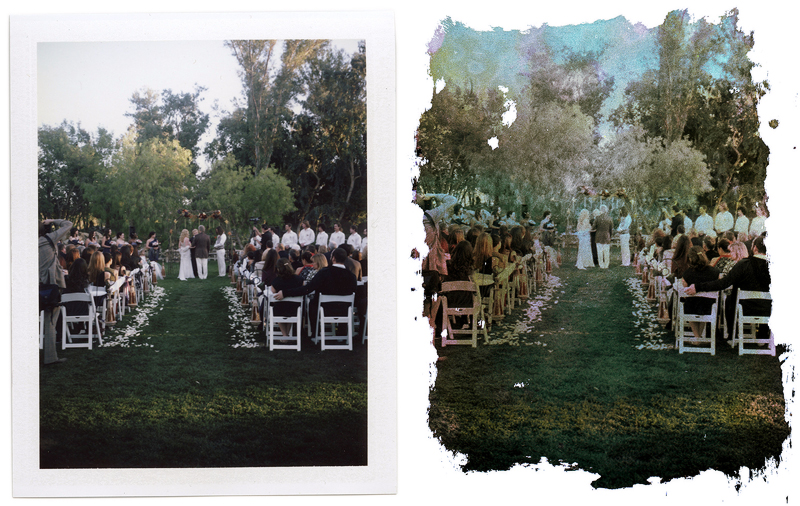 And as a teaser, I'll leave you with a few more Fuji color P/Ns from our recent wedding that we are working on (blog post coming soon).


3 comments:
Here is a revised version of how to get the best negatives!
Our tips:
-Let the print develop double the recommended time before peeling to prevent solarization. Fuji's pack film is self-terminating so you could let it process for hours without any adverse results!
-First remove the black with extra strength bleach and then clean the negative. The excess chemistry actually protects the emulsion a little.
-Cover the emulsion/goop side with masking tape. Don't tape it down to anything!
-Set the negative face down on an old towel when removing the black back. The towel absorbs most of the bleach before it bleeds around to the emulsion side.
-Clean the black off with extra strength bleach, a toothbrush and a paper towel. Have your toothbrush in a cup of water and dip the toothbrush in the bleach, scrub the black, wipe with a paper towel, dip the toothbrush in water then bleach again and repeat until the neg is clear.
-last remove the masking tape and rinse in cool running water. After it's dried everything is ready to scan. We have found that fixer is really unnecessary in this process.
Hi guys!
first of all, thanks for posting this! I used bleach on the black backing of a 3000B negative and it turned completely white. Any ideas???
Thanks, best regards. Marian.
The 3000B does not need to be bleached to be scanned as a paper neg on a flatbed scanner. You can bleach off the black and print as a paper neg as a contact print in the darkroom.
Post a Comment