Monday, June 15, 2009

Fairytales come true in the Magic Kingdom

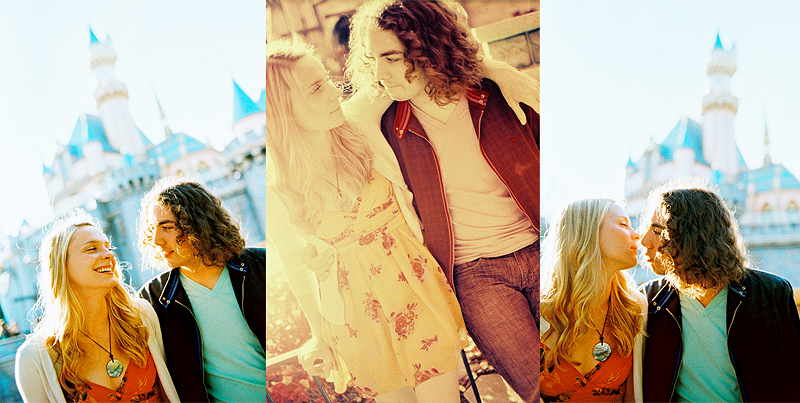
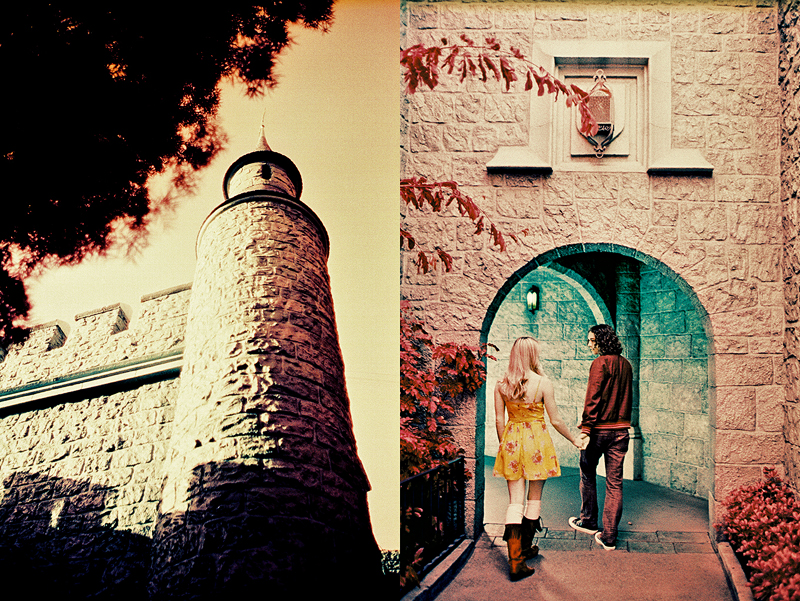
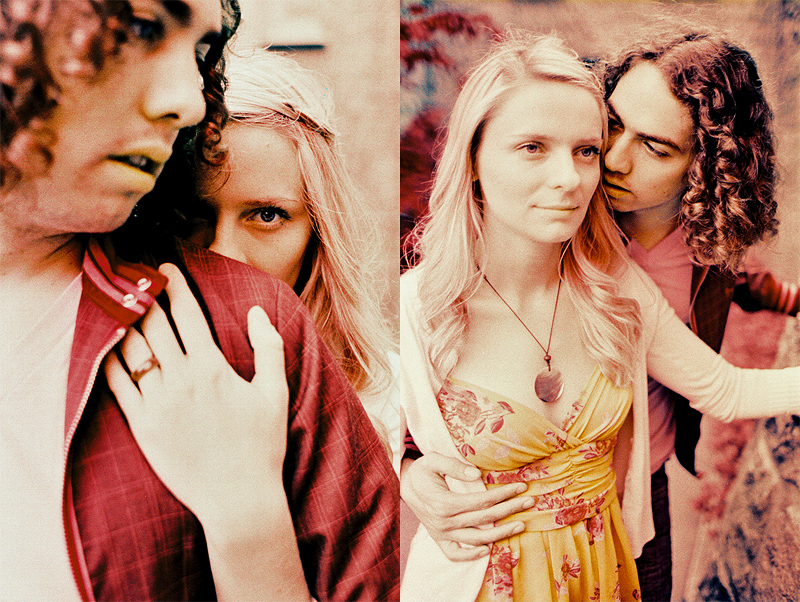
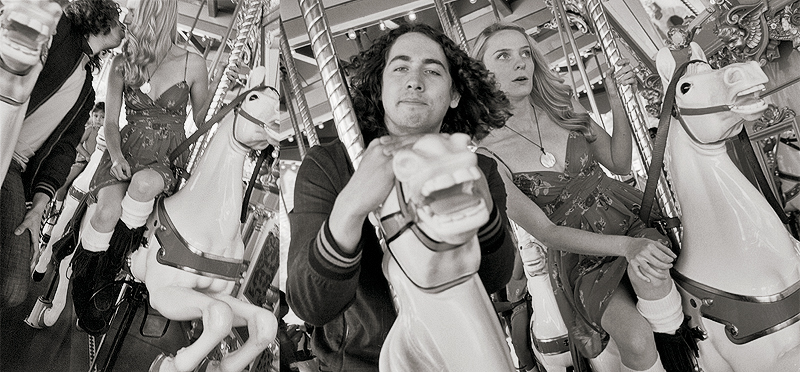
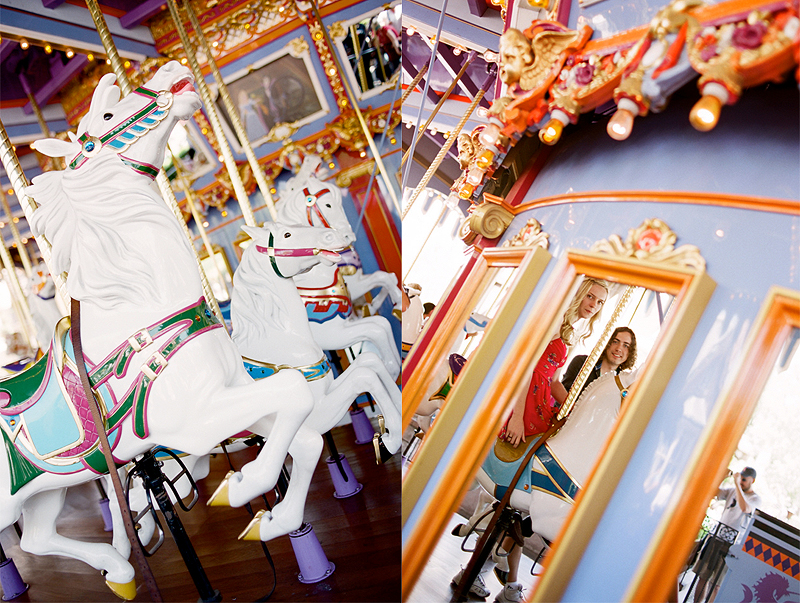
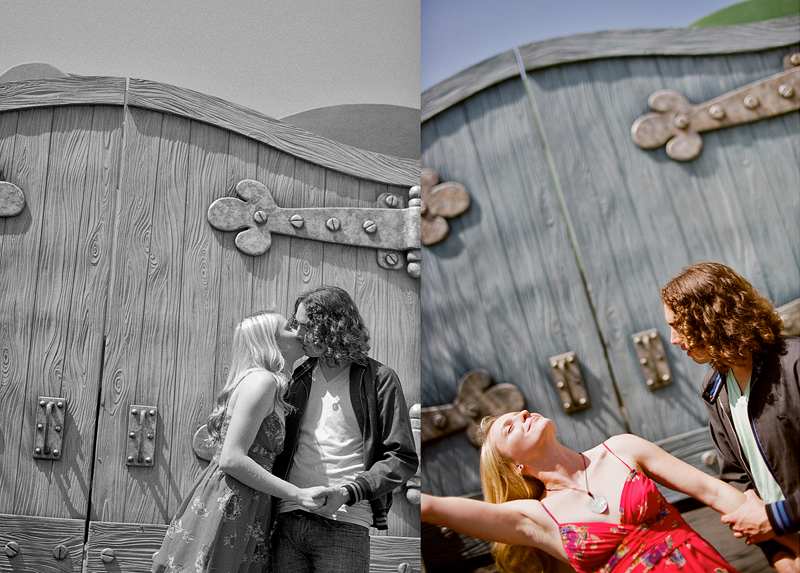
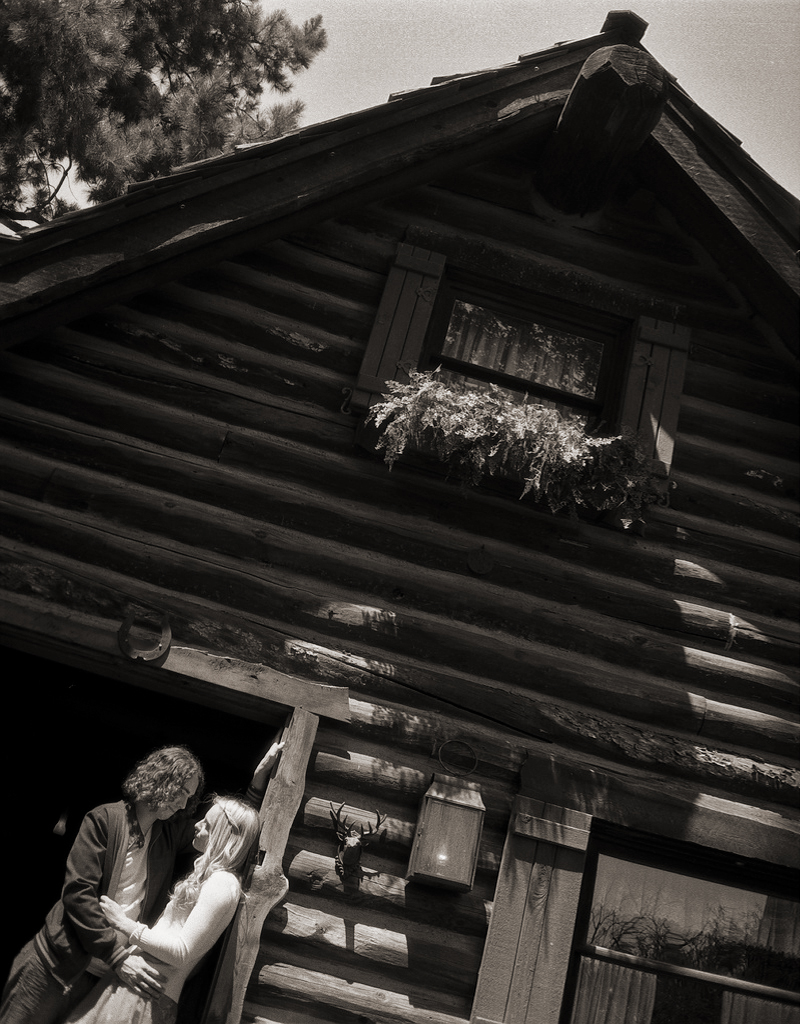
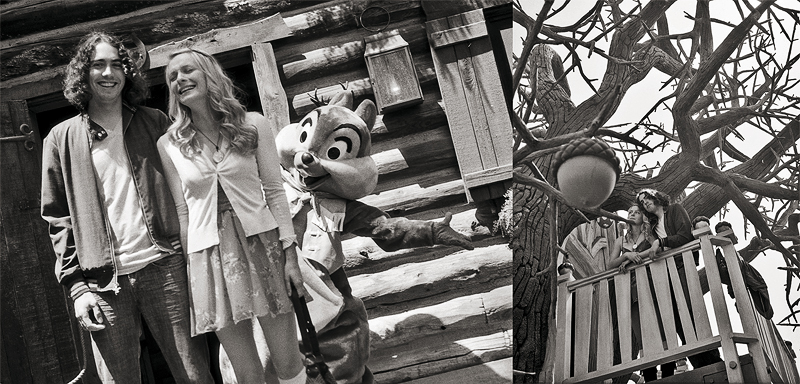
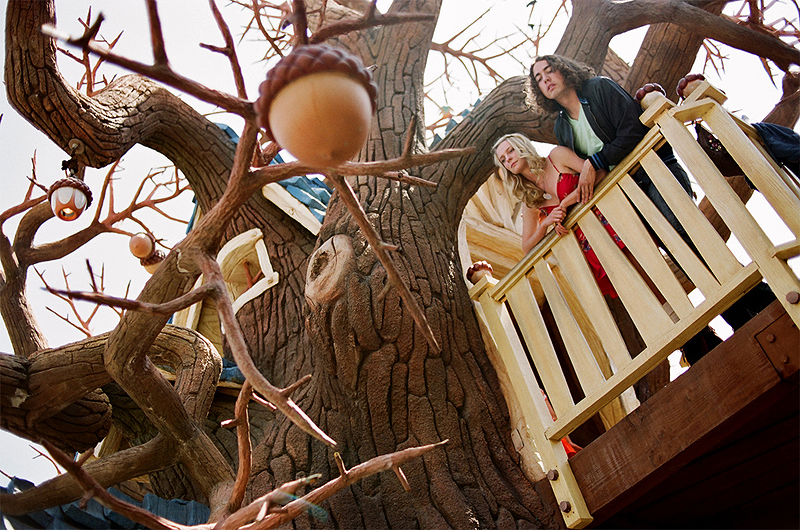
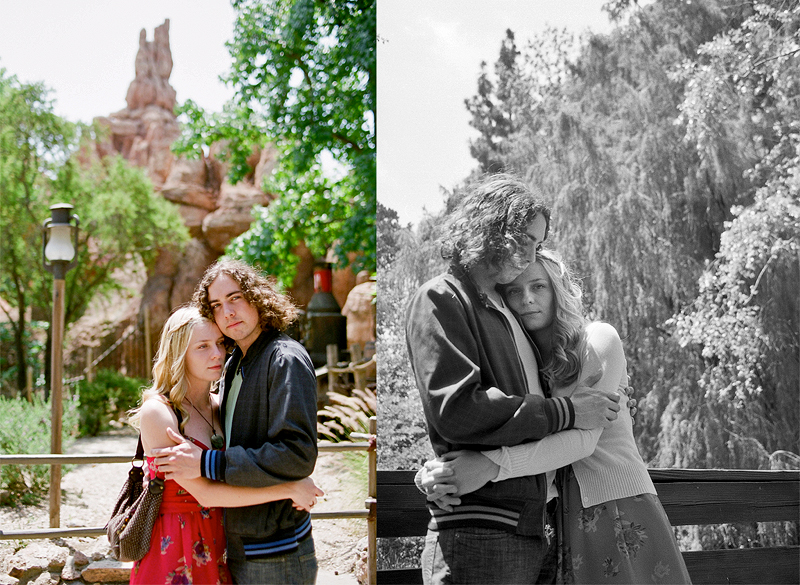
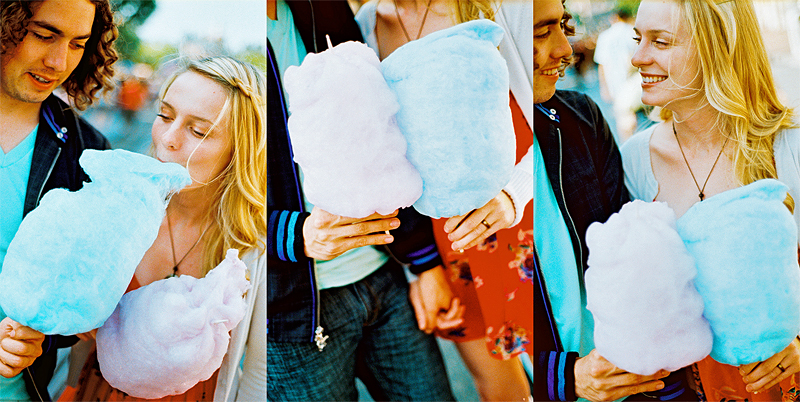
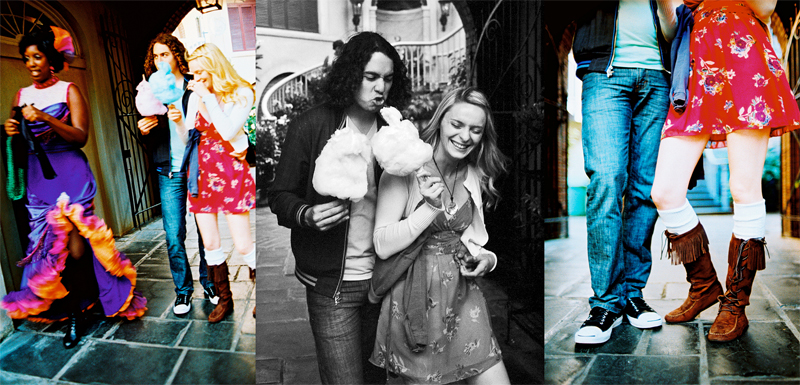
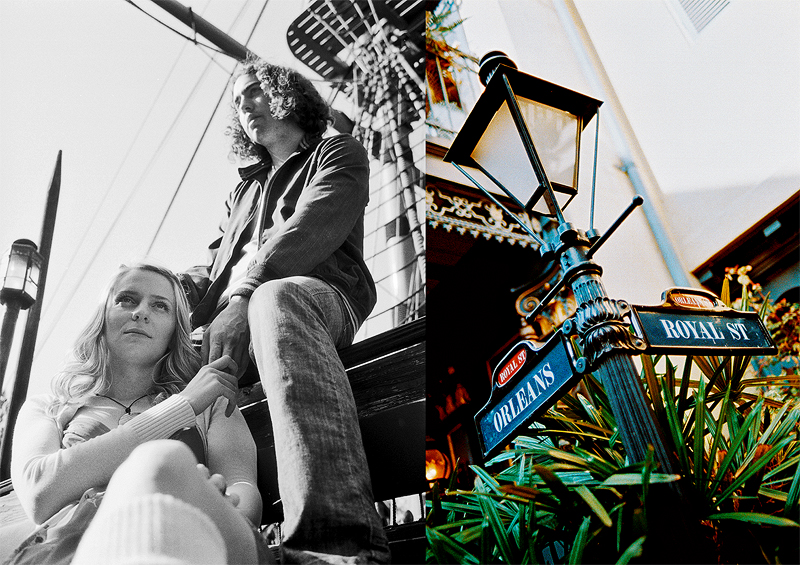
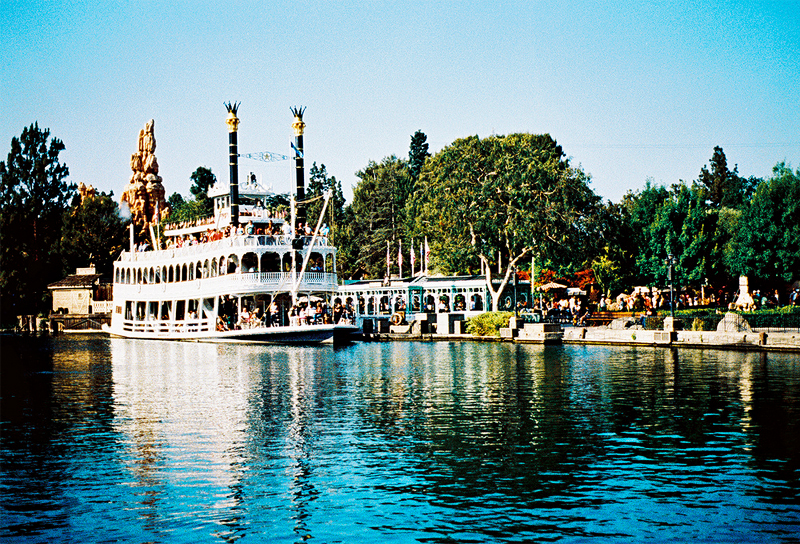
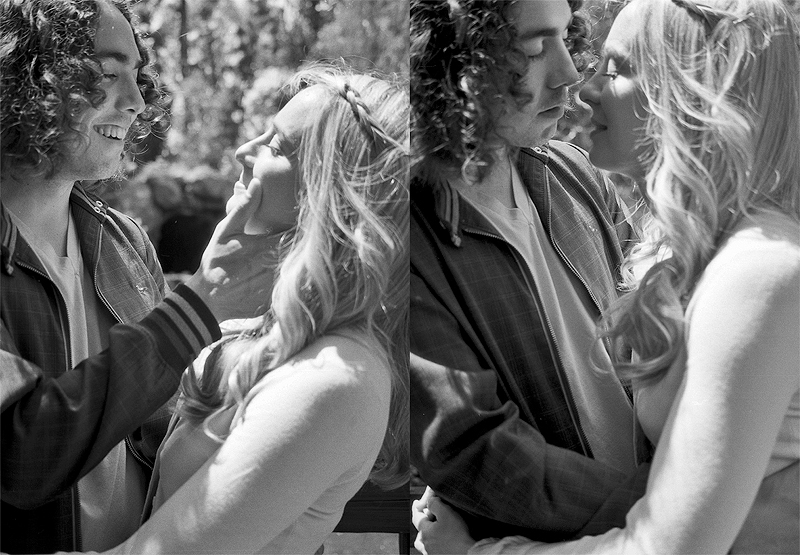
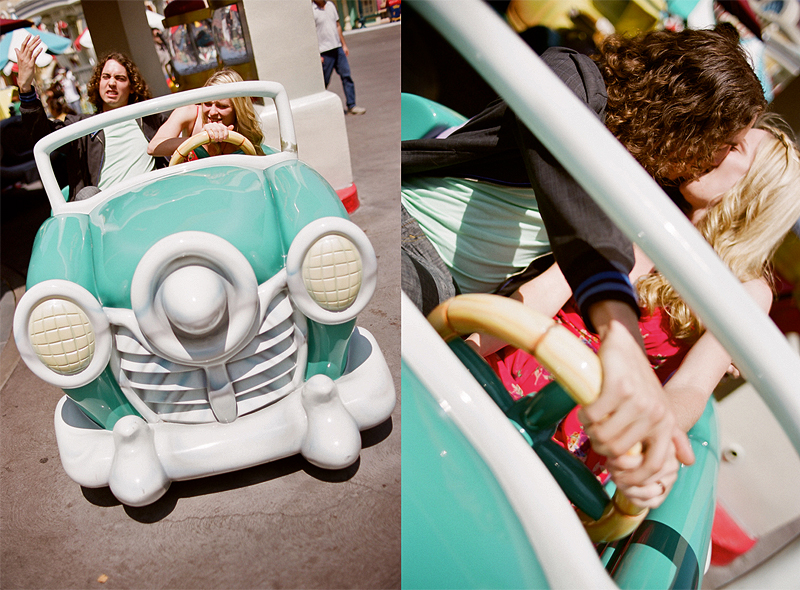
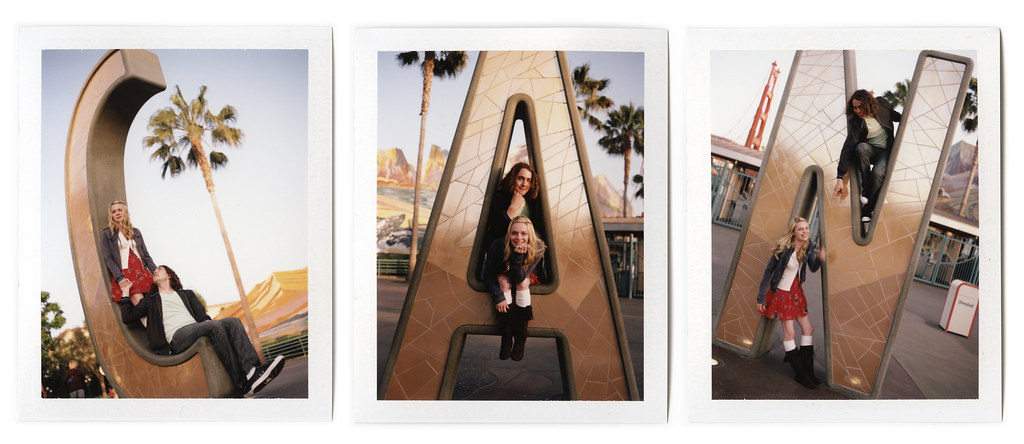
When Chad and Christine wanted to have their engagement photos done at Disneyland my first though was, "How fun would that be!" But my initial reaction was a bit more skeptical, because I realized how difficult it would be to try and create intimate photos among the hordes of tourists and cast members that ebb their way through that Magic Kingdom every day. The first thing we worked out was the approach. We wanted to capture the "magic" but not so much the "Disney" of D-land. So we agreed to shoot Infrared color and black and white film, along with some cross processed slide film to help to create the surreal ambiance that we were going for. This color infrared film was designed to be processed in E-6 but we processed it as negative in C-41 chemistry at Richard Photo Lab (if you would like to know anything more about how this all works feel free to comment). We arrived at disneyland in the afternoon and basically just improvised the rest of the day, while trying to be as discrete as possible. I'm pleased with what we got, but we really just scratched the surface of what the Magic Kingdom has to offer. Enjoy. 


Chad & Christine

Chad & Christine

Chad & Christine

Chad & Christine

Chad & Christine

Chad & Christine

Chad & Christine

Chad & Christine

Chad & Christine

Chad & Christine

Chad & Christine

Chad & Christine

Chad & Christine

Chad & Christine

Chad & Christine

Chad & Christine

Chad & Christine

Chad & Christine

View the entire shoot and order prints here.

Thursday, June 11, 2009

Frank Black and F The Man

F The Man

I went to see Frank Black, Francisco The Man, and The Shys at the Detroit Bar a couple weeks ago. It definitly wasn't a Pixies show like it was advertised as, but Frank Black played some alright music with his wife. Francisco The man was awesome though! I was shooting my Mamiya C330 with 65mm f/3.5, and since I didn't have any Delta 3200 I shot on Fuji Neopan 400 and Pro H400. I light metered the brightest part of the stage at iso 1600 f/2.8 and 1/2sec. Exposed at f/3.5 and 1/15sec. That means even pushing this film 2 stops makes it underexposed -4 stops! I love film!!! Richard Photo Lab did a great Job scanning the film. Thanks Guys. I shot a few on my Nikon FE2 and 50mm 1.8 with some Lucky's Savon brand 400 pushed +2 I picked up last minute. It actually pushed pretty well. I was surprised. Anywho, here is a good example of film that was underexposed 4 stops that should have been exposed for the shadows about 2 stops over my light reading. I still got some interesting looking shots.

Frank Black
Frank Black
Frank Black

Saturday, June 6, 2009

Love at First Sight: Instant B&W negatives from Fuji pack film!

Fuji PNAs promised in our previous article, unveiling the instant color negative in Fuji's FP-100C, here are some negatives that we recovered from the FP-100b! From the amazing Miller Family photo shoot last week (processing the film now)! These negatives have been hidden in the goop side of Fuji's pack film all along, and we have discovered a process by which we can unearth a dynamic transparent negative by removing the black backing on the back side of the peel apart film. All you need is a heavy duty cleaner, a little running water and some craftiness. With these negatives we tried just placing the film face down on a paper towel and using a sponge or cloth with Soft Scrub on it, to rub away the black backing. The Soft Scrub worked nicely because it was more of a paste that wouldn't run around to the emulsion side, ruining the negative. You can still tape down the edges of the film to a piece of glass to be safe, but it's not entirely necessary. The main difference between the FP-100c and FP-100b is that the color neg. is much more durable. Whereas with the color negative we recommend that you wash off all the goop from the negative under running water, you must be much more gentle with the B&W neg. We only gently rinsed the negative in water and fixed it for only 30 sec. or so, then dipped it in photo flo and hung to dry. Try not to touch the emulsion at all when it is wet! As you can see we left some damage on our negatives, due to experimenting with different tools for scrubbing off the backing. I found that a finer abrasive will remove the black with less dulling on the finish of the transparency. If you would like more of a brush stroke look, use a coarse scrubber. Now that we have the process pretty much down though, we are going to try to be much more meticulous with the handling and cleaning of the negatives. We are still working on a way to carry the fresh negative around without damaging it (wax paper really didn't work). Perhaps we will produce negatives with virtually no damage. No matter where we go from here, I'm already smitten!
Fuji PNAs you can see, the negatives have much greater highlight and shadow detail than the prints.
Fuji PNThere are some chemical stains along with some lint and scratches on these, but I think it just adds character.
Fuji PNThe above exposure was not left in the fixer long enough, so it has some solarization and fogging.
Fuji PNThis one was scanned as a positive transparency, due to the fact that I rubbed all of the emulsion off of the negative and didn't put it in the fixer; as it turns out, leaving only the solarized exposure!:~)
Fuji PNHere are a couple reflective negatives from the FP-3000b. These were taken at the "Walkman Wedding" on the 30th. by our assistant Serra.
Fuji PNThis is what a B&W scan of an overexposed FP-100c negative turns out like.
Fuji PNAnd as a teaser, I'll leave you with a few more Fuji color P/Ns from our recent wedding that we are working on (blog post coming soon).
Fuji PNFuji PN

Monday, June 1, 2009

Disneyland Engagements

YES WE...
Yes We...More awesome Disneyland engagement photos coming to a Twin Lens Life near you!