Showing posts with label color pn transparent negative. Show all posts
Showing posts with label color pn transparent negative. Show all posts
Thursday, May 20, 2010


Tuesday, May 18, 2010
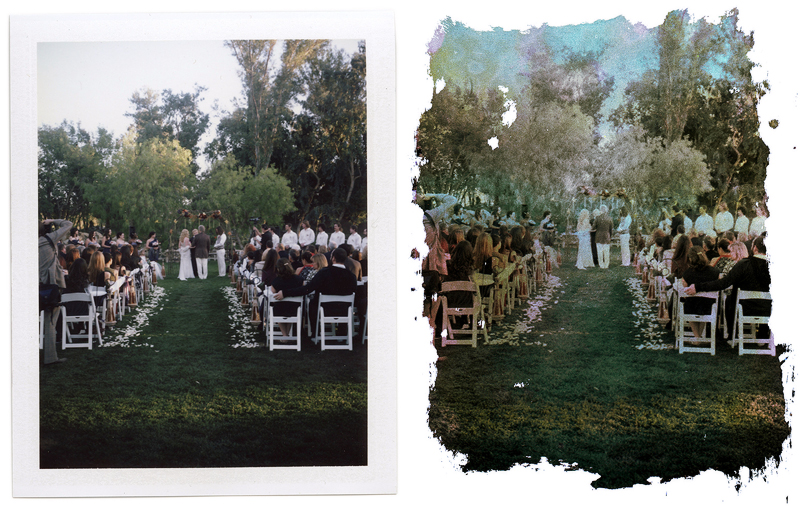
S&B - Ceremony
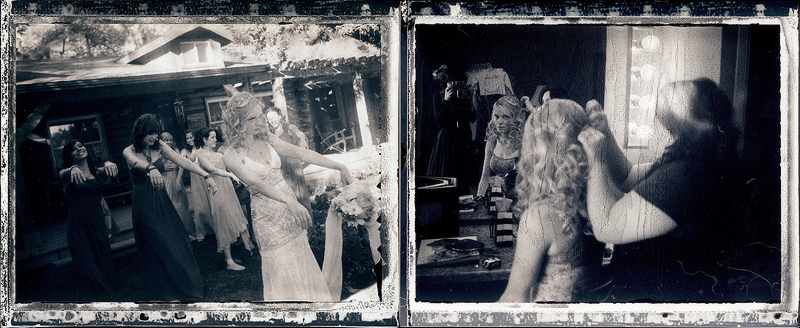
 With this FP-100c instant neg, shot by the wonderful Gia Canali Photography at my brother's wedding, I cleaned the negative goop only in the center of the image. I like the look!
Wednesday, March 24, 2010
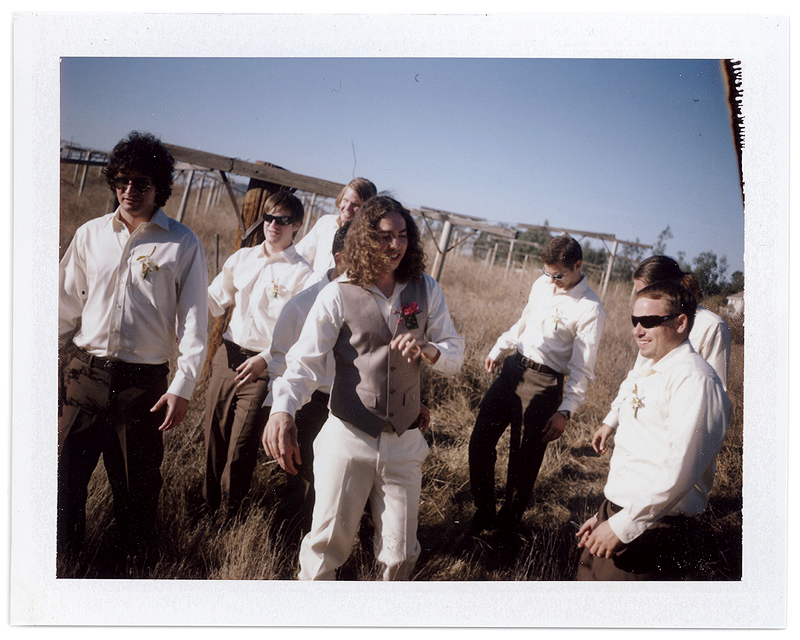
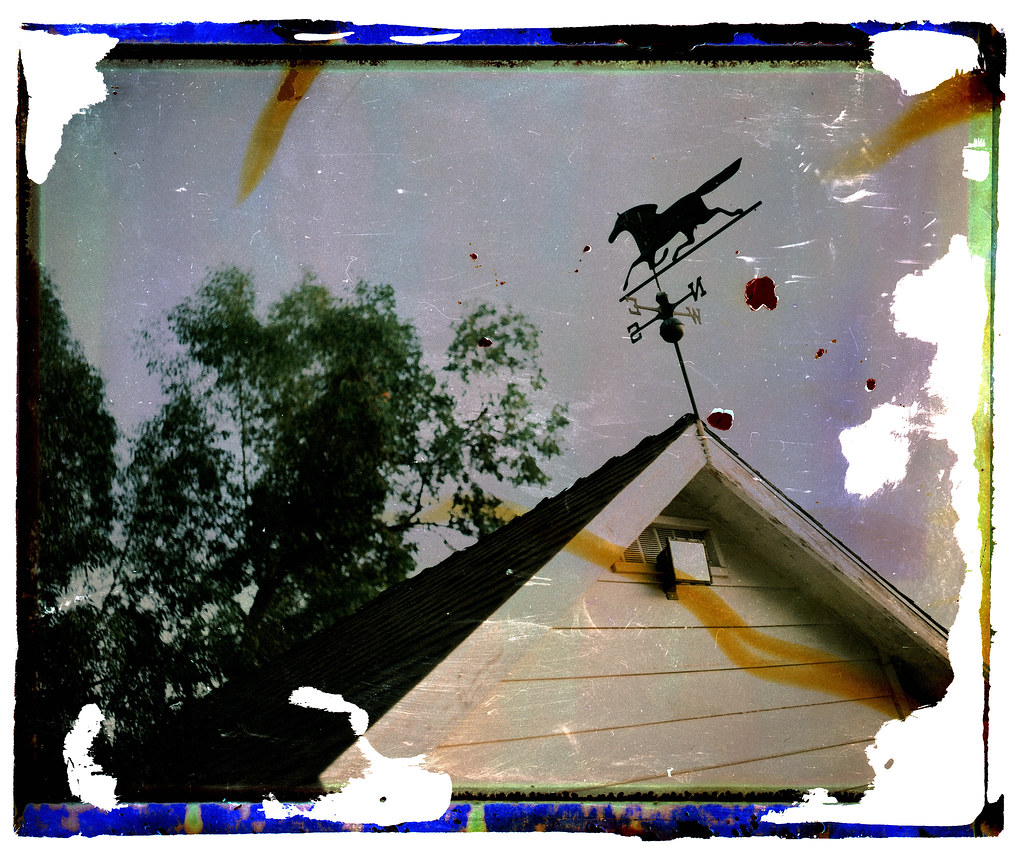
Country Rustic

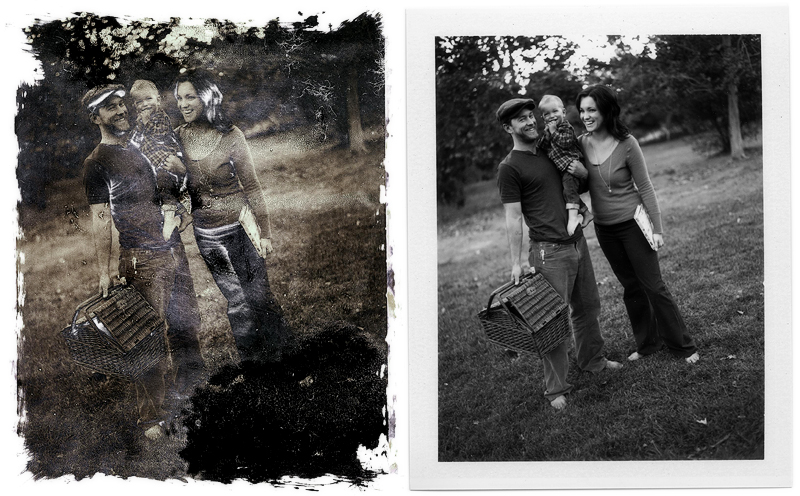
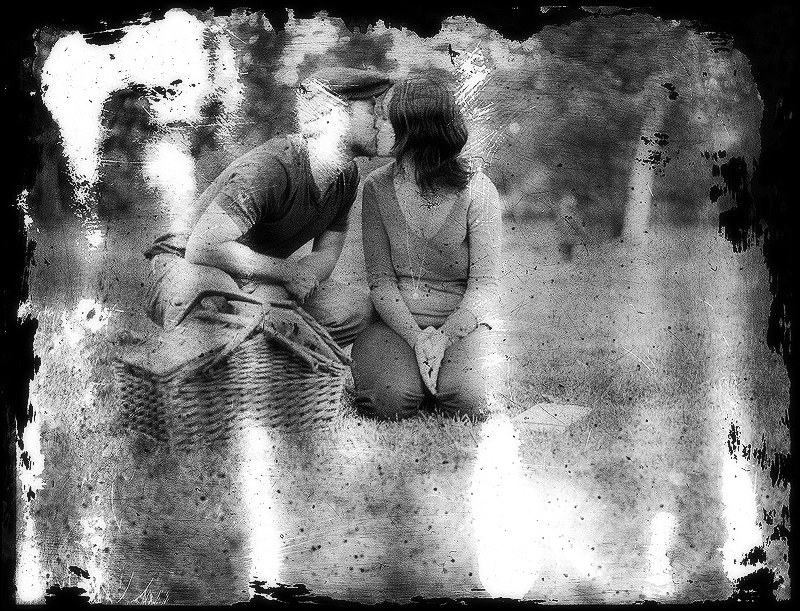
 Instant negatives made from FP-100C45's shot on Frankie, my little 4x5 Land camera I made. The boy is me. That gorgeous lady I'm with is Serra, my soon to be wife!
Wednesday, January 27, 2010
C&T - Instant Love
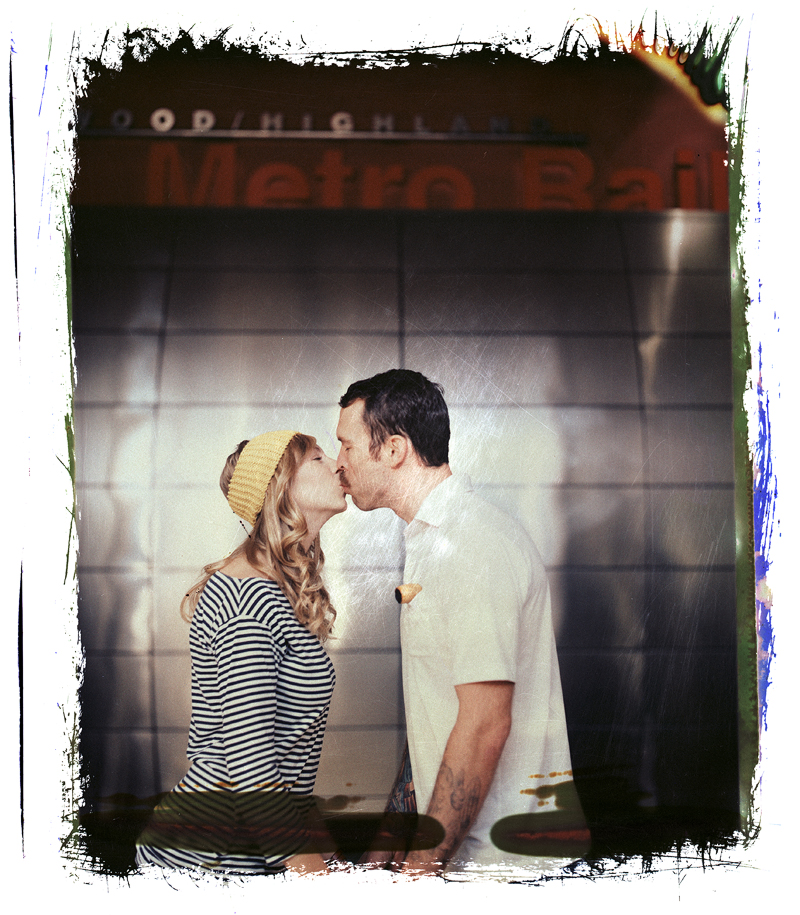 After shooting Tim and Chelle's awesome engagement session on Sunday just I couldn't wait to get them up on the Twin Lens Life to share with you all! Tim is our guy when it comes to shooting Super8. He is super creative and a really good friend. And because of his amazing taste in women as well as cinema he just so happened to pick one of the coolest, prettiest and all around bestest gals to marry him. Chelle is a "Southern Belle" with a good dose of southern california style. From Tim's mustache down to Chelle's snazzy cowgirl boots, I absolutely love their relaxed vintage style! But back to the point, I couldn't wait to get to get all the film back from Richard photo lab to share these, so we may just have to do two posts on this one. Post one... "Instant Love!"
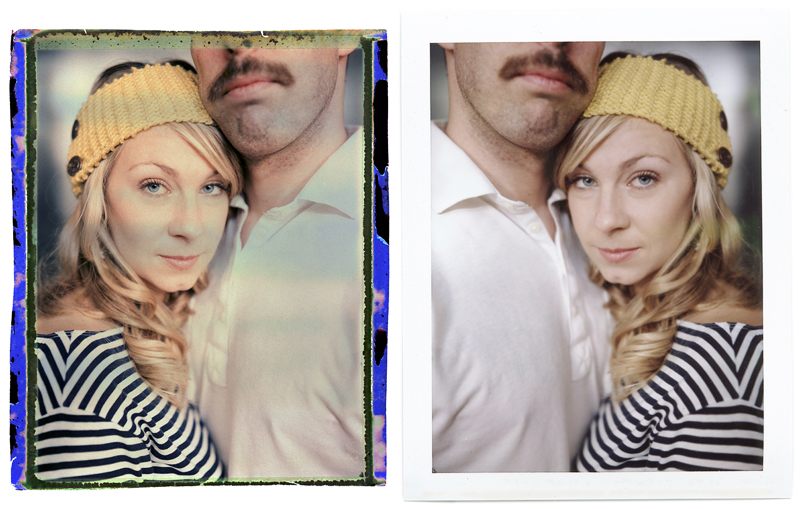 So we've really nailed this new process we've been doing with Fuji's Instant Pack Film. What we basically do is take the goop part of the film that you'd usually just peel off and quickly throw away, because it's slimy and stinks, but instead we save it to unearth the instant negative! A beautiful, rich, three-dimensional and incredibly sharp negative! [See our pervious posts: love at first sight, unveiling love, and goopy love] Just check out the neg on the above left. Better than the print! Our Main tools we use are old towels, clorox bleach and a toothbrush to rub off the black backing. It's craft time! :~) Using just those tools we can be as messy or as immaculate as we want, but you get a transparent negative! It takes some patience but I really love the process. What do you think?

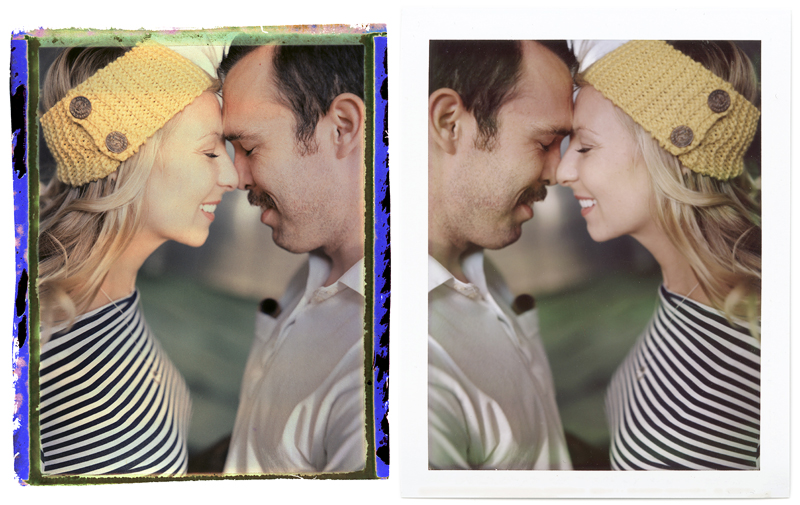
 The two below are from shots that we were not so careful with.
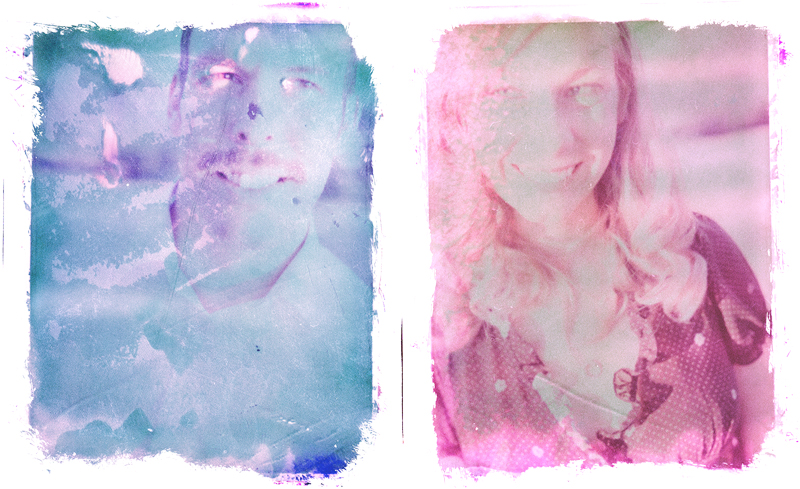 A few of the goop negs ended up dried stuck together, so a lot of the dies were lost in cleaning but they came out looking really soft and beautiful in the end (Above).
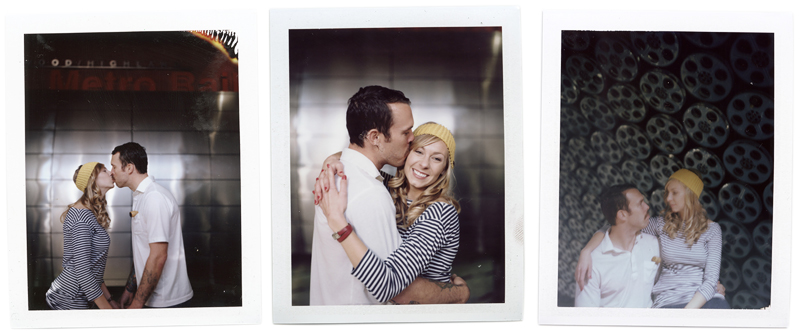
Below is a shot in the L.A. Subway (Yes Los Angeles has a subway) taken on Fuji's FP300B. This neg has a white, rather than black, backing. So the negative is immediately visible and can just be scanned reflective! Notice that the negative holds much greater detail than the initial print two below.
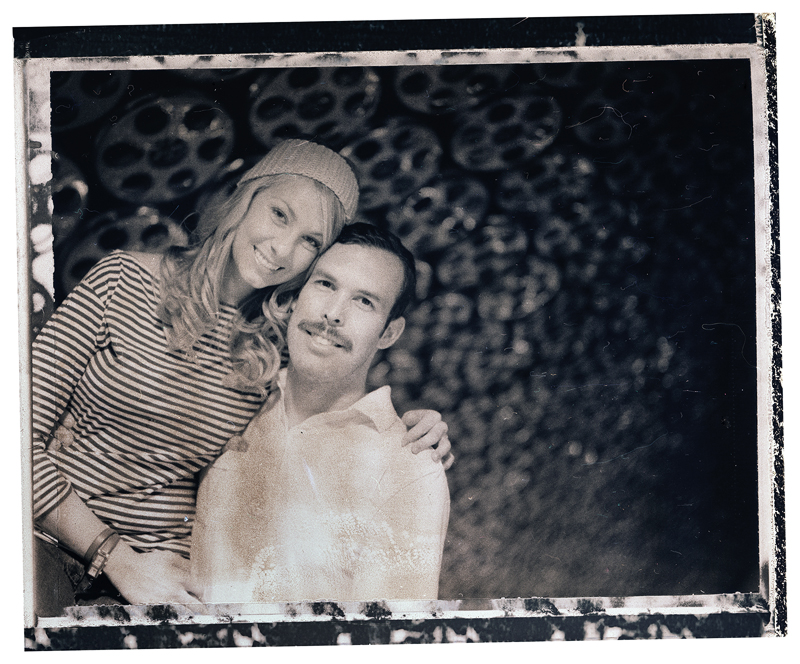
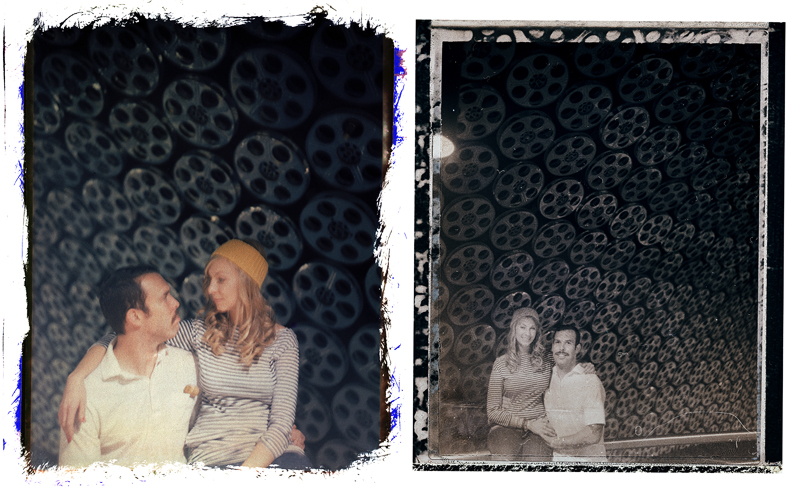 Tim loved the old movie reels covering the ceilings at the Hollywood and Vine station.
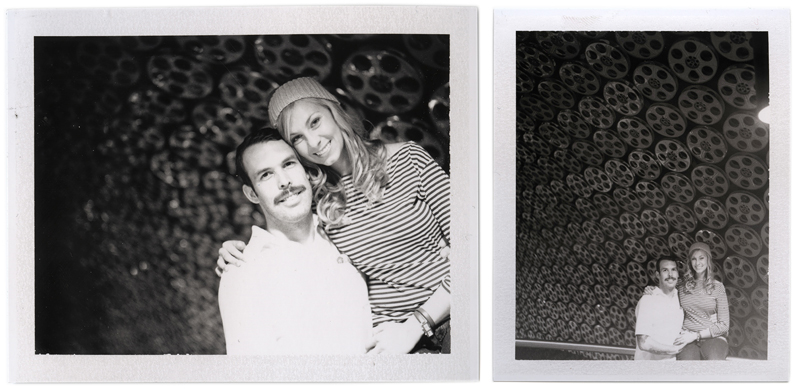 Well that just scratches the surface of what all we have cooking from this shoot! Plus we have Tim and Chelle's Wedding in Arrowhead in April! So hope y'all like some good ol' home style analog photos with generous a helping of handsome... Cause that's what's cookin!
And for those who care, here is a close-up of one of the negatives (left) as compared to the instant print (right).
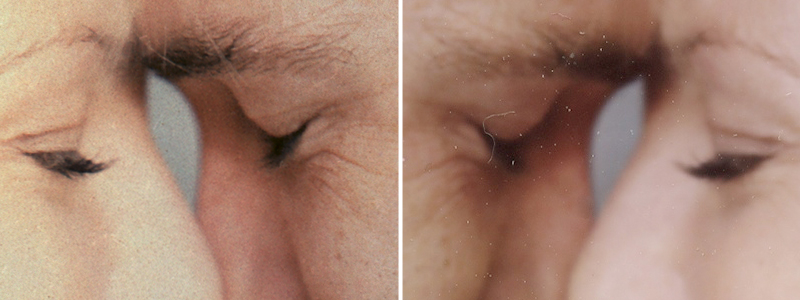 Incredible!
Friday, December 11, 2009
Matt & LeeAnn - A Teaser


Had a great photo shoot with this beautiful couple up in Malibu recently. Thought I'd share these FP100 negative scans just as a little teaser. Full post coming soon...
Saturday, June 6, 2009
Love at First Sight: Instant B&W negatives from Fuji pack film!
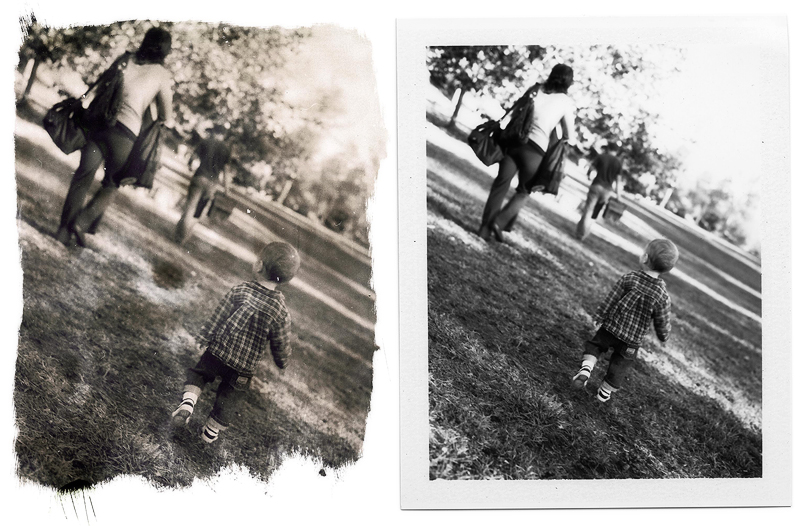
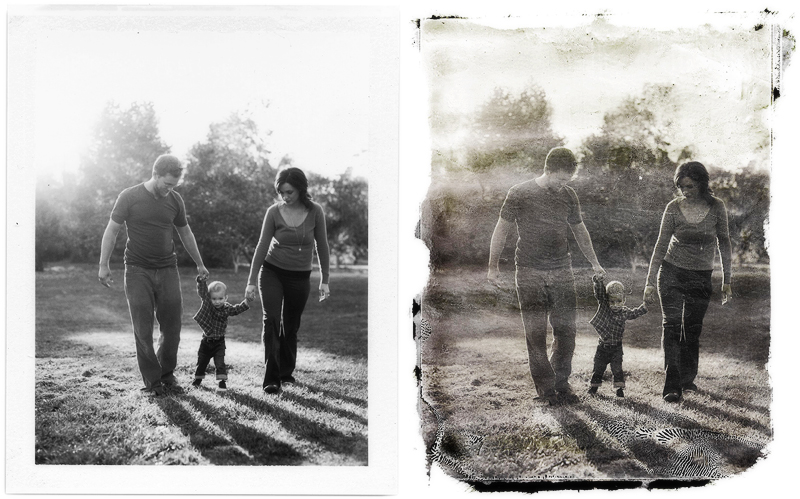 As promised in our previous article, unveiling the instant color negative in Fuji's FP-100C, here are some negatives that we recovered from the FP-100b! From the amazing Miller Family photo shoot last week (processing the film now)! These negatives have been hidden in the goop side of Fuji's pack film all along, and we have discovered a process by which we can unearth a dynamic transparent negative by removing the black backing on the back side of the peel apart film. All you need is a heavy duty cleaner, a little running water and some craftiness. With these negatives we tried just placing the film face down on a paper towel and using a sponge or cloth with Soft Scrub on it, to rub away the black backing. The Soft Scrub worked nicely because it was more of a paste that wouldn't run around to the emulsion side, ruining the negative. You can still tape down the edges of the film to a piece of glass to be safe, but it's not entirely necessary. The main difference between the FP-100c and FP-100b is that the color neg. is much more durable. Whereas with the color negative we recommend that you wash off all the goop from the negative under running water, you must be much more gentle with the B&W neg. We only gently rinsed the negative in water and fixed it for only 30 sec. or so, then dipped it in photo flo and hung to dry. Try not to touch the emulsion at all when it is wet! As you can see we left some damage on our negatives, due to experimenting with different tools for scrubbing off the backing. I found that a finer abrasive will remove the black with less dulling on the finish of the transparency. If you would like more of a brush stroke look, use a coarse scrubber. Now that we have the process pretty much down though, we are going to try to be much more meticulous with the handling and cleaning of the negatives. We are still working on a way to carry the fresh negative around without damaging it (wax paper really didn't work). Perhaps we will produce negatives with virtually no damage. No matter where we go from here, I'm already smitten!
 As you can see, the negatives have much greater highlight and shadow detail than the prints.
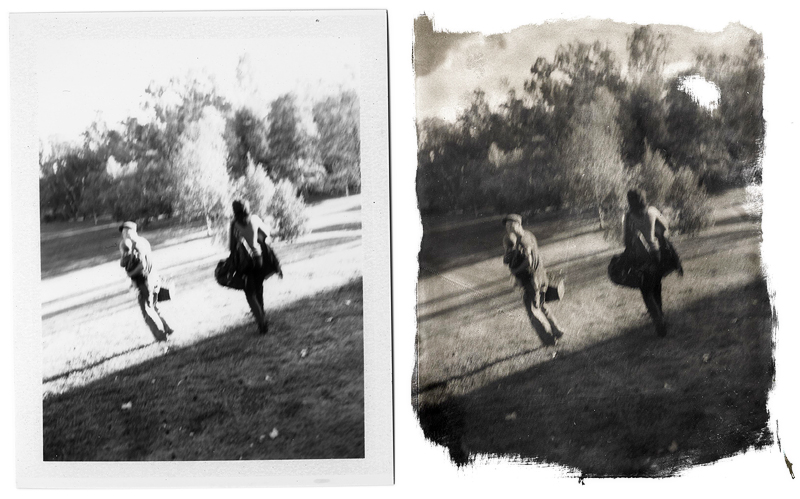 There are some chemical stains along with some lint and scratches on these, but I think it just adds character.
 The above exposure was not left in the fixer long enough, so it has some solarization and fogging.
 This one was scanned as a positive transparency, due to the fact that I rubbed all of the emulsion off of the negative and didn't put it in the fixer; as it turns out, leaving only the solarized exposure!:~)
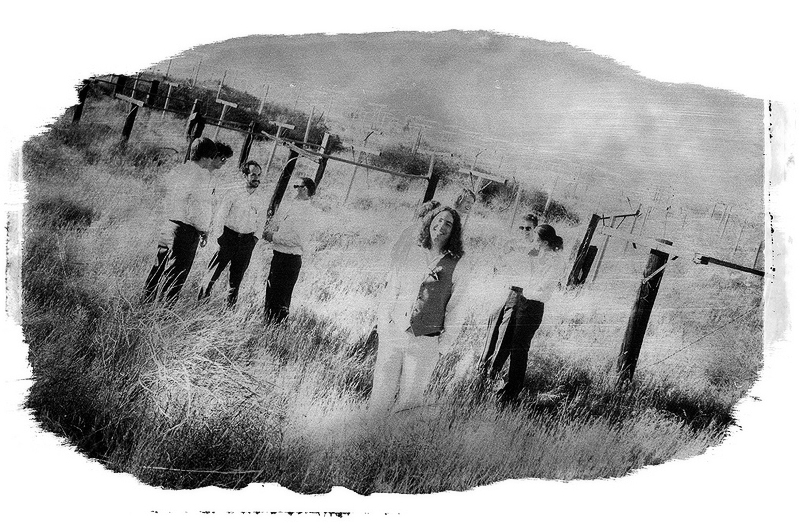
 Here are a couple reflective negatives from the FP-3000b. These were taken at the "Walkman Wedding" on the 30th. by our assistant Serra.
 This is what a B&W scan of an overexposed FP-100c negative turns out like.
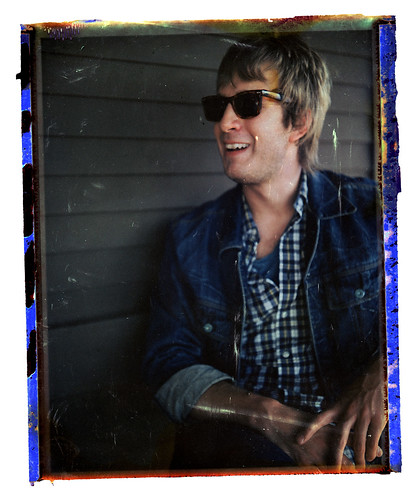
 And as a teaser, I'll leave you with a few more Fuji color P/Ns from our recent wedding that we are working on (blog post coming soon).

Saturday, May 23, 2009
Unveiling Love: recovering an INSTANT COLOR NEGATIVE from Fuji pack film!
 Do you remember the Polaroid type 55 and 665 PN pack film that gave you both an instant print and transparent large format negative? How could you forget?! We have a few dozen boxes of it in the freezer. The problem is that the stuff is priceless now, and it's hard to justify opening it up. Well, at least that has been a problem... up till now.
A few months ago we did a post on the how we've been scanning the Goop side of Fuji's pack film for the past couple years, as a reflective to get a lustrous positive. Lately we have been attempting to remove the black backing of the goop side of Fuji's color peel apart film. The theory was that if the goop side was producing a negative like the FP3000b, it wouldn't be visible once it dried down due to the black backing. The 3000b has a white backing to boost exposure, which coincidentally reveals the unexposed areas of the emulsion. Remember, wherever light hits a negative the emulsion darkens during processing, and the absence of light washes away from the negative. So, since the FP100c has black behind the emulsion it's difficult to detect the exposed areas. We just needed to remove the shroud. Our first attempts at doing so prove that the black backing appeared to be painted on, making it impossible to peel off. Well, what do you do? Introduce sand paper or paint thinner to archival analog photography?! Scary thought.
We've tried using many different chemicals to dissolve the backing, and eventually found bleach to most effective to reveal the transparency. The trick was not getting any on the emulsion side of the negative, so we masking taped it face down to glass, and poured bleach over it. Presto-chango! All it took was a paper towel soaked in bleach to rub off the blackness, revealing a beautiful large format transparent neg. What we had thought to be paint, seemed more like ink now. And once you remove that ink, you could carefully untape the edges and rinse it.
Below I want to give an example of our first attempts at revealing and scanning this instant negative.
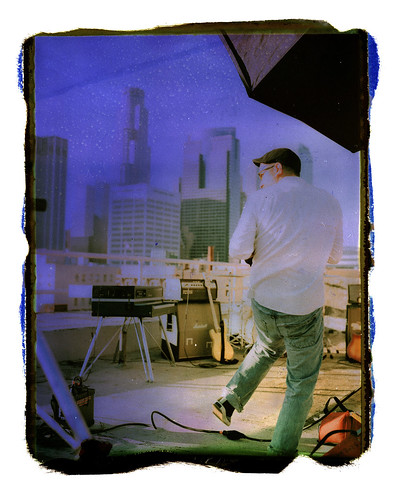
Here is the original print Shot a couple months ago of Reality L.A.'s worship band.
 Due to the overexposed nature of this shot I had held onto the goop side of this print, which had dried and left a crusty barely visible rendition of the positive. Below is a reflective scan of the goop with a mega-boost in contrast.
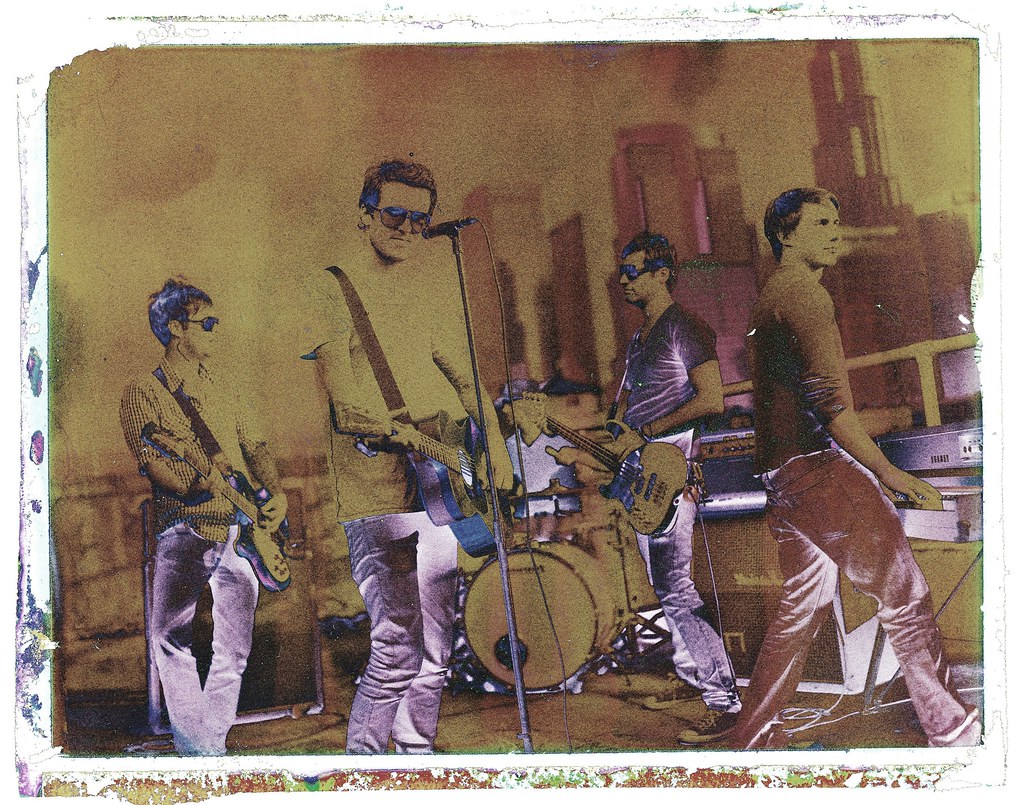 So the next thing we did was revolutionary. We stripped the backing off and scanned a transparency! The emulsion side still had the crusty chemistry on it, but we had to see how it looked.
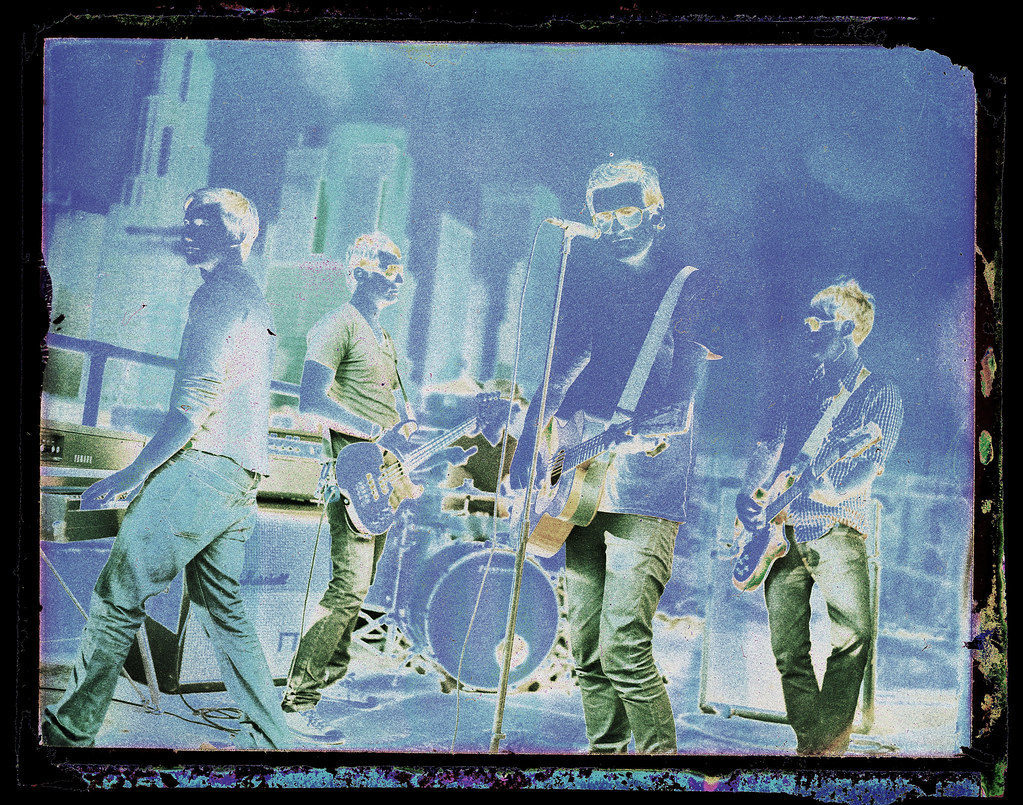 As you can see, the goop left on the negative has completely solarized the image. So now all we had to to was wash and fix it. We used Ilford black and white negative fixer and fixed for 10 min. We quickly discovered that the longer it fixed the cleaner it got, the clearer the base became. The scan below was performed after fixing it for quite a while. The reason it has a sepia tone to it is due to the fact the the emulsion hadn't dried down yet.
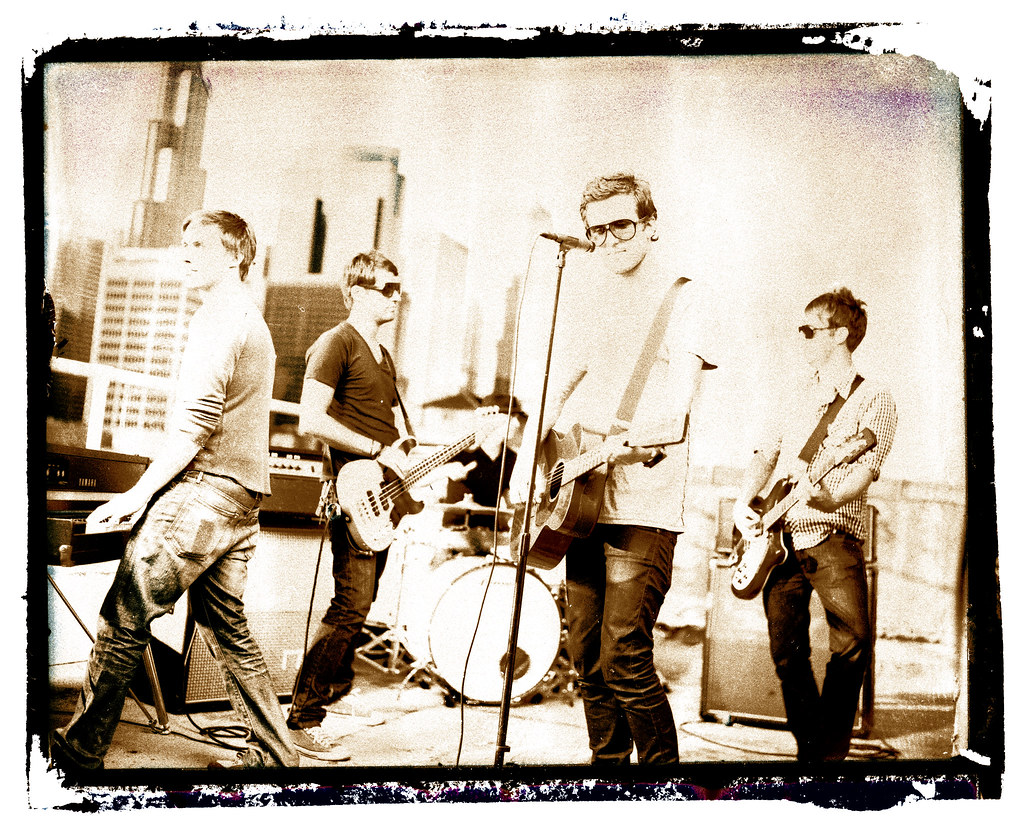 As you can see in the overexposed areas the is still some goop leftover. So, back in the fixer it went. We just let it sit overnight. I think, due to sitting around a couple months the chemistry had bonded pretty well. Our future experiences have been much cleaner. The next morning we dried the Negative and washed it in Photo Flo. Here is the scan!
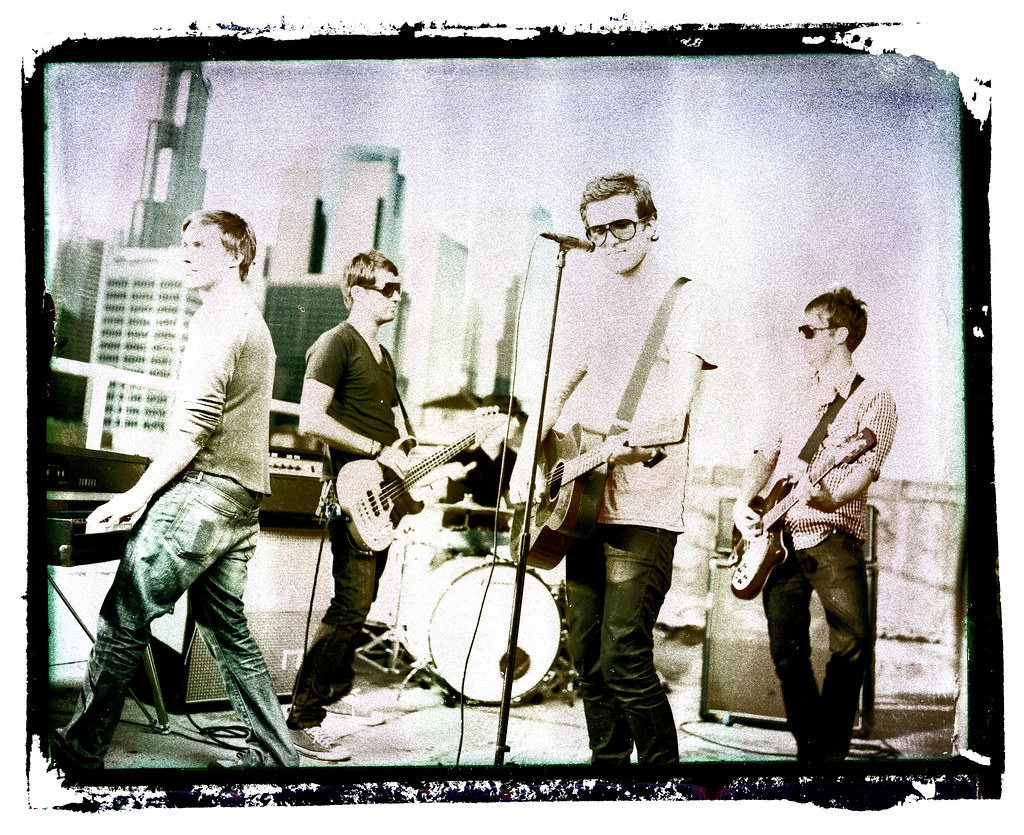 This image is still a bit overexposed and has some dame to it, but it proved to be much sharper than the print, and maintained much more detail. I would always recommended washing and fixing your negs asap with this process. The results can be stunning. The resolution is fantastic, and it has a look very similar to x-processed slide film. Below I'll include a few more that we have shot since this discovery. As you can see, we have experimented with the exposure and gotten a little messy with the bleach for different looks. These negative are extremely durable in water, but just be careful not to get the bleach on the emulsion side. Applying this process to Fuji FP100b to produce an amazing B&W negative is the next step. Stay tuned...
The overall care and process goes rather quickly and easily. It's a full daylight process that cost's you next to nothing. Oh, and we even have experimented with Mr. Clean Magic Eraser to remove the black on the second image at the top of this post. This is a pleasurable process that can bear much fruit, and will prove only to strengthen our Goopy Love!
Subscribe to:
Posts (Atom)


